
Garage Shoe Storage: How to Plan for Boots, Daily Pairs and Wet Shoes
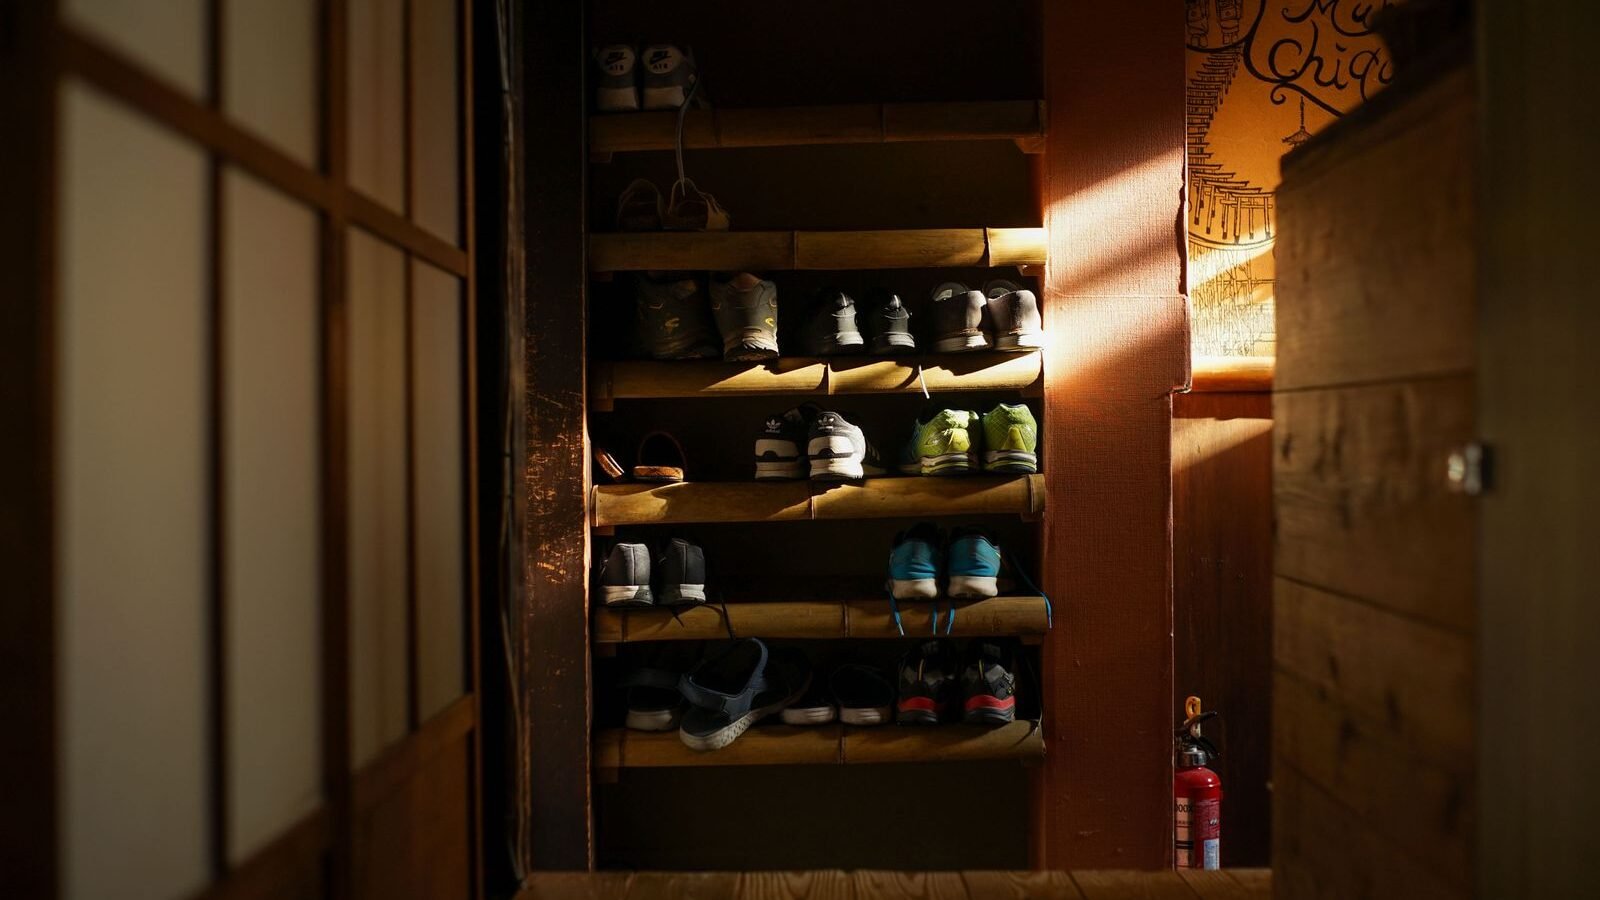
IKEA says the BOAXEL shoe shelf, 32 in, has room for approx. 4 pairs of shoes. [1] IKEA also says not to place BOAXEL in direct contact with water. [1]
Plan garage shoe storage by counting the pairs that need a home, then give each type of footwear its own space (daily shoes, tall boots, wet or muddy pairs), then check each product’s stated width, depth and load against that count. Then add the wall system a product needs, the load limit, and what happens when footwear is wet, and a shopping list becomes a plan.
This guide walks through that plan: how to count and measure, what the product pages say, a worked layout for an invented household, the wet-shoe problem, how to budget. And a worksheet you can fill in at the garage door. However, it does not rank products by quality, because we have not tested any of them.
About this guide for Garage Shoe Storage
Product figures in this guide are cited to IKEA’s product pages for the BAGGMUCK shoe tray, BOAXEL shoe shelf and TRONES shoe cabinet; no figures from other makers’ pages appear here. We have not installed or used any of these products for this article. The household in the worked example is invented. Product pages change, so check the maker’s page before you buy; nothing here is a recommendation to buy. This guide was drafted with AI assistance.

Free download: The Garage Makeover Planner
Our 12-page printable planner: garage profile, measurements and layout grid, declutter tracker, zone plan, floor chooser, door safety checks, budget worksheet and order of work.
Step 1: Count the pairs and sort them into three groups
First, walk through your household and write down every pair that should live in or near the garage entry. Sort them:
- Daily pairs: sneakers, sandals and work shoes that go in and out all week. These need easy access, ideally at hand height.
- Tall or bulky pairs: rain boots, snow boots and work boots. They need height, not just floor width.
- Wet or muddy pairs: anything that comes in dripping or dirty. These need a surface that catches water and dirt and can be wiped clean.
For this exercise, do not count shoes you wear only a couple of times a year. instead give those a closed bin on a high shelf. In our judgment the daily pairs matter most, because if the system is awkward to use, shoes tend to end up on the floor.
Step 2: Measure a pair, not a product
Example (invented numbers, our own arithmetic). The number that matters is how much shelf each pair uses, not a page’s headline count. Next, set your actual shoes side by side on a table or the floor and measure the width of a pair, including a small gap between pairs. wide work boots or large sneakers may need more. The formula is pairs that fit = shelf width divided by (width of a pair + gap). For example, suppose your pairs are wide and you leave a gap between them: the shelf may then hold one pair fewer than the advertised count. As a result, an advertised count is not a guarantee.
In practice, the gap between pairs matters more than people expect. Therefore, measure with the bulkiest pair in the row, not the slimmest. Also leave room to lift one shoe out without dragging its neighbor, because a crowded shelf is awkward to use.
Step 3: Check what the product pages say
Other makers sell wall-system racks and boot racks, and some of them hang only on that maker’s own rails or panels. For example, a rack that fits only one rail system can be awkward to mount if your wall has no rails. Therefore, read three lines on any rack’s page before you plan around it: the stated width and depth, the stated load, and the mounting system it needs. If any of the three is missing, treat it as unknown rather than assuming a number.
These figures come from the IKEA product pages themselves.
- The BAGGMUCK Shoe tray page lists Measurements Length 28 in Width 14 in. [2]
- The BAGGMUCK page lists Material Polypropylene plastic (min. 20% recycled). [2]
- The BOAXEL Shoe shelf page lists the shelf’s own measurements as Width 31 1/2 in, Depth 15 in and Max load/shelf 22 lb. [1]
- IKEA says BOAXEL interiors are easy to click onto or remove from the brackets. [1]
A few notes follow from those figures:
- IKEA notes: “Do not place BOAXEL in direct contact with water.”[1] It also says BOAXEL can be used in humid areas of the home, like in the laundry room. [1]
- Loads are modest. Weigh your heaviest boots before trusting any shelf rating.
What the cabinet page lists for Garage Shoe Storage
IKEA’s TRONES shoe cabinet is a closed, wall-fixed option, and its page lists these points.
- The TRONES page lists Measurements Width 20 1/2 in Depth 7 1/8 in Height 15 3/8 in Package quantity 2 pack. [3]
- The TRONES page says it holds approx. 4 pairs of shoes. [3]
- The TRONES page says to use fasteners suitable for the walls in your home. [3]
- IKEA says these shoe cabinets must be secured to the wall. [3]
- The TRONES page says the shallow cabinet takes up little space. [3] It also says the cabinet is ideal for storing shoes, gloves and scarves. [3]
Check whether a page’s pair count describes one cabinet or the whole package before you divide it. Likewise, a closed cabinet hides clutter but traps damp, so keep wet pairs out of it.
Step 4: Plan for wet and muddy pairs
Plan for water separately from dry storage. IKEA says the treated and durable metal surface of BOAXEL is perfect to place shoes on, regardless if they are wet or dry. [1] It also says the powder-coated steel surface is durable and easy to clean. [1] Separately, IKEA says not to place BOAXEL in direct contact with water. [1] Our judgment, not a manufacturer statement: even so, keep dripping pairs on a tray or mat with a raised edge so water does not run onto the shelf and the shoes below.
IKEA’s BAGGMUCK page says the high edge makes sure that dirt and water stay on the mat. [2] It also says using a shoe mat protects your floor from dirt and gravel. [2] For care, it says to wipe clean using a damp cloth and a mild cleaner, then wipe dry with a clean cloth. [2]
Worked layout: a household of four (invented) for Garage Shoe Storage
Example (everything in this box is invented). Assumptions: two adults and two children. They store daily shoes, rain boots, work boots and muddy pairs near the garage door. And they have one stretch of wall beside the door.
| Group | Share of the pairs | Space needed | Possible solution |
|---|---|---|---|
| Daily shoes | Most | Several shelves, because each shelf holds fewer pairs than its advertised count | Divide the shelf width by the width of a pair plus its gap, round down, then add shelves until every daily pair fits. Plan with your own measurement, not the advertised count. |
| Rain and work boots | Some | One wall-mounted boot rack | One rack, hung where the wall has the most clear height |
| Muddy pairs | A few | One floor tray | One tray on the floor beside the boot rack, outside the area where boots hang |
Now check the wall. The boot rack takes most of the stretch beside the door and leaves less than the width of a shelf. So the shelves must go on another part of the wall, or above the boot rack with clearance for the boots hanging from it (measure your tallest boot). This is the typical constraint: the wall is not wide enough for everything side by side. So you either stack vertically within the wall system’s limits or use a second wall. And you check each product’s listed depth against the aisle you need to walk and the car doors you need to open.
The same measurement changes the shelf count for the daily shoes: the advertised count per shelf drops when your pairs are wide. Before you buy, make the calculation with your own pair width. In the invented household, the practical answer is a combination: shelves for the daily pairs on the wall nearest the door, the boot rack on the stretch of wall that has the most clear height, and the floor tray tucked beside the rack where drips are easiest to wipe up. However, the exact arrangement depends on where the car doors swing.
Three layouts compared for Garage Shoe Storage
Example (our judgment, not a sourced fact). Entries tend to follow one of three layouts. The comparison below is built on the product facts above and is not tied to any one product.
| Layout | Best for | Main limit | Watch for |
|---|---|---|---|
| Wall-hung shelves and a boot rack | Many pairs on a narrow floor area; keeping the floor clear for cleaning | Wall width, the load ratings on the product pages and the wall system you need | Shelf depth reducing the walkway; wet shoes dripping onto the shelf below |
| Floor trays with a small rack | Wet and muddy pairs; households that dislike hanging things on walls | Floor area; trays hold few pairs | Trays that sit in the path of car doors; water spreading past the tray’s edge |
| Closed cabinet or bench | Hiding clutter; extra seating for putting shoes on | Ventilation for damp shoes; cabinet depth | Putting wet pairs in a closed space, which our judgment says is a poor idea |
In our judgment a garage entry works best when it mixes a rack or shelf for dry pairs with a tray for wet ones. The worked layout above does that.
How to budget without guessing for Garage Shoe Storage
A shoe-storage budget goes wrong when it counts only the shelves. Instead, build it as a checklist and fill in each line with the price you see on the day you buy.
- List every part the layout needs: shelves or racks, brackets or rails, trays, and fasteners that suit your wall.
- Read the unit price on the retailer’s page on the day you buy, and note what each line covers before you multiply by a quantity.
- Look for companion parts. If a page shows brackets, rails or hardware as a separate item, give each its own line.
- Price the mounting hardware for your wall type, whether that is masonry, studs or bare drywall. It is the line people forget most often.
- Add tax and delivery last, and keep a small buffer for a part you mismeasured.
- Treat a missing price as unknown. Do not fill the gap with a guess, because a guess hides the line that decides the total.
If the total looks high, cut the number of pairs you store at the door before you cut the quality of the mounting. In our judgment, a cheap shelf on weak fasteners is a false saving, since it can come down with the shoes on it.
Zone the entry so shoes land where people stop
Daily pairs by the door for Garage Shoe Storage
Put the daily shelf at the spot where people actually stop to take off their shoes. Next, set it at a height where a child can reach without a stool, because storage that needs help gets skipped. In addition, keep the lowest level for the heaviest pairs, so a full shelf never tips forward. For example, a bench beside the shelf gives people a place to sit while they change, which keeps the floor clear.
Tall boots need height for Garage Shoe Storage
Tall boots need vertical space more than floor space. Therefore, hang them upside down or stand them in a deep bin so they hold their shape and drain. However, check that the hanging height clears the shelf below, and measure the tallest boot you own, not an average one. Also keep boots away from the swing of the car door, since a boot that falls into the doorway tends to be stepped on.
Wet and muddy pairs get their own spot
Give the wet group its own spot nearest the garage door, because that is where dripping starts. Then use a tray with a raised edge so water stays put, and empty it into a sink or outside rather than letting it evaporate in the garage. As a result, the shelves stay dry and the floor stays clean. In addition, let muddy pairs dry before they go onto a shelf, and knock the worst dirt off outside.
A step-by-step plan for one weekend
- Empty the entry zone and pile every pair on a table. Then remove pairs nobody wears.
- Next, sort the pairs into three groups and count each group.
- After that, measure a pair and a typical boot including the gap, then compute shelf length from the formula above.
- Measure the wall. Note the space you can spare and its clear height, and mark where the car doors open.
- Then check each product against your measurements and your wall system. Treat any number you cannot find as unknown.
- If shoes still land on the floor, the daily shelf is in the wrong place; move it closer to where people actually stop.
Seasonal rotation for Garage Shoe Storage
Footwear needs change through the year, so keep the current season’s pairs at the entry and put the rest in a closed bin on a high shelf. For example, in wet seasons give the tray priority; in dry seasons, the tray can store sandals. As a result, fewer pairs need a place in the entry zone. So a small wall only has to hold what is in use now.
Where it can go wrong
- Depth versus the car. For example, a deep shelf on a wall beside a parked car takes aisle width and can hit a door edge. Measure from the wall to where your car door opens.
- Wall system assumptions. If your wall is bare drywall or has a different wall system than the rack’s maker expects, the rack does not simply screw on.
- Load. IKEA says the recommended maximum weight applies when the weight load is evenly distributed across the surface. [1] Therefore, put your heaviest boots on a scale and add up what will sit on each shelf.
- Moisture. Wet shoes and standing water are different things; the wet-pairs section above shows how the maker words it. In our judgment, a tray for dripping pairs keeps water off the shelf and the floor.
- Not enough at the door. In our judgment, storage far from where people take off their shoes goes unused, so put the daily shelf nearest the door.
Keep it working after the weekend
A storage system only works when it is easy to reset. For example, take a minute at the end of each week to return strays to their spots and wipe the tray. Next, once a season, pull everything off, wipe the surfaces with a damp cloth and a mild cleaner, and let them dry before you reload. However, if a shelf sags or a fastener loosens, fix it at once, because a failing shelf drops shoes and dirt together.
Finally, review the layout after a few weeks of use. If one group keeps overflowing, give it more space and take that space from the group that is rarely full. In addition, ask everyone who uses the entry what slows them down, because the person who struggles with a hook or a shelf will quietly stop using it.
For the wider picture, read our garage organization plan and our guide to garage wall storage before you commit to a wall system.
Your worksheet
Example (blank worksheet to fill in at the garage door).
| Line | Your number |
|---|---|
| A. Daily pairs | __ |
| B. Tall or bulky pairs | __ |
| C. Wet or muddy pairs | __ |
| D. Measured width of one pair plus gap (inches) | __ |
| E. Shelf length needed for daily pairs: A x D | __ |
| F. Wall width available (inches) | __ |
| G. Depth you can spare before the car or walkway (inches) | __ |
| H. Weight of your heaviest pair of boots (pounds), compared with the product’s stated load | __ |
| I. Mounting system you already have (name) | __ |
How this guide was researched
This guide is built from published documentation, public agency and standards guidance, manufacturer or operator specifications, and independent published testing rather than from first-hand testing, travel, or ownership by this site. Where a price, rule, specification, or inclusion is quoted, it reflects what the source published at the time of review. confirm the current terms directly with the provider before you act on them, because these details change without notice.
Last reviewed on .
Frequently asked questions
How many pairs does a shoe shelf hold?
IKEA says its BOAXEL shelf has room for approx. 4 pairs of shoes. [1] For your own shelf, measure one pair plus a small gap and divide the shelf width by that number; wider shoes mean fewer pairs.
Does a wall-system rack need its maker’s own rails?
Check the maker’s description first. If the page does not say which rails or panels the rack fits, treat the fit as unconfirmed and plan for the maker’s own system.
Can I store wet boots on a shoe rack?
IKEA says the metal surface of BOAXEL is perfect to place shoes on, regardless if they are wet or dry. [1] It also says BOAXEL can be used in humid areas of the home, like in the laundry room. [1] IKEA says not to place BOAXEL in direct contact with water. [1] For dripping pairs, a tray with a raised edge is a more cautious choice. That last part is our judgment, not a manufacturer instruction.
What is the weight limit?
The BOAXEL Shoe shelf page lists Max load/shelf 22 lb. [1] Ratings differ by maker, so read the load line on each page you consider.
What is the difference between a shoe tray and a rack?
A tray sits on the floor and catches dirt and water; a rack holds shoes up and off the floor. In practice, many garages use both: a rack for dry pairs and a tray for wet pairs.
Are prices on this page current?
This guide gives no prices, because prices change often. Check the retailer’s page for the current price before buying.
Sources
- BOAXEL shoe shelf, white, 311/2×153/4" – IKEA ()
- BAGGMUCK shoe tray, indoor/outdoor/gray, 28×14" – IKEA ()
- TRONES Shoe/storage cabinet, white, 20 1/2×15 3/8" – IKEA ()
Keep planning

Written by Jeremy Jarvis
Jeremy Jarvis is the founder and editor of Garage Playbook, where he builds research-based guides and free planning tools for garage doors, floors, storage, heating and cooling, and workshops. He sets the site's editorial standards, checks every guide against official sources such as federal safety standards, EPA and OSHA guidance and manufacturer documentation, and is responsible for corrections. Jeremy also founded Eco Nomad Travel, Mind Clarity Hub, SilkHarborTravel, WanderOza Travel, Freedom Road Living and PowerProof Home, and he is the author of books on clarity, focus and practical AI, including The Power of Clarity and Digital Clarity.
Questions and comments