
Garage Workbench: Types, Height, Tops and Setup Ideas
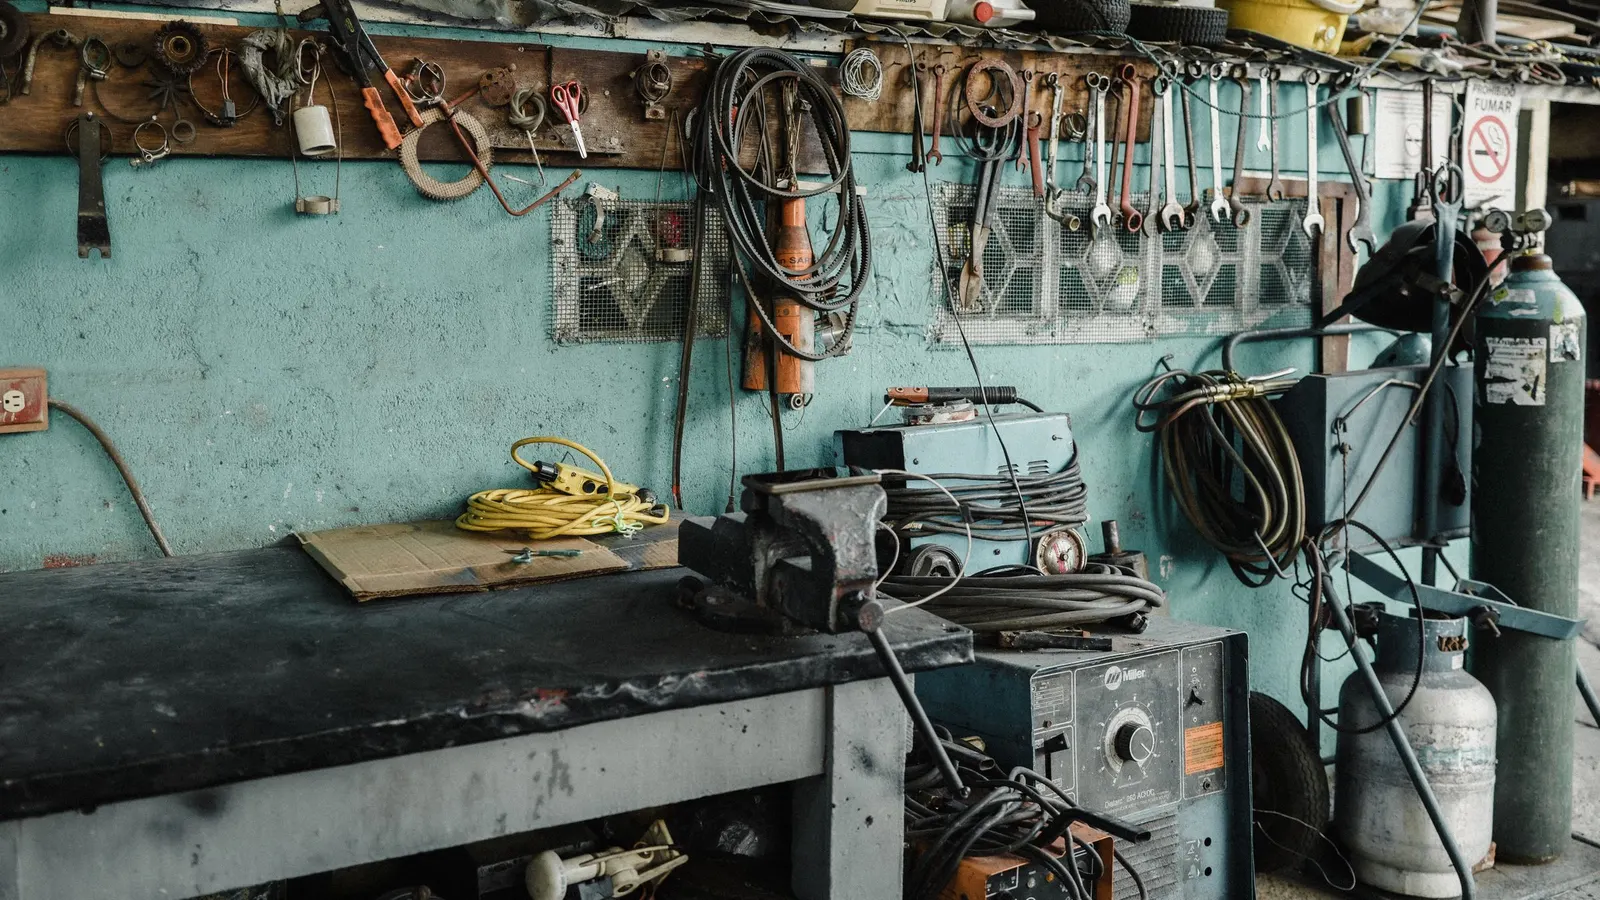
A good garage workbench is the heart of any home workshop. It gives you a solid surface to build, fix, sharpen, glue and sort, and it keeps tools within reach. Whether you restore furniture, repair bikes, work on small engines or simply hang pictures, the right workbench makes every job easier and safer.
Last reviewed and updated: October 2, 2026. Written by Jeremy Jarvis.
Key takeaways
- Choose a garage workbench by the work you do: heavy assembly, fine woodworking, car repairs or hobbies.
- Set the height to fit your body and tasks, and keep the depth comfortable to reach across.
- Good light, nearby outlets and storage within arm’s reach make any bench far more useful.
- Plan for dust and noise from the start; OSHA notes exposure over 85 decibels can damage hearing.
This guide explains how to choose or build a garage workbench: the main types, the right height and depth, top materials, vises, power, lighting, storage and safety. For a wider plan of the whole space, see our garage workshop ideas.
Start with the work you will do
The best garage workbench depends on how you will use it. For example, heavy assembly, such as building furniture or working on engines, needs a stiff, heavy bench that will not rack or slide. Fine woodworking, by contrast, benefits from a flat, solid top and good clamping. Similarly, electronics and hobby work need good light, outlets and a clean surface. Meanwhile, general household repairs need a bit of everything.
Think about frequency too. A weekend fixer needs a reliable bench but may not need specialized features. By contrast, someone who works in the garage several evenings a week will appreciate drawers, a quality vise and dedicated lighting. Make a list of your common tasks, and let it guide every choice that follows.
Types of garage workbench
In general, workbenches come in several forms, each with strengths for different garages and users.

Free download: The Garage Makeover Planner
Our 12-page printable planner: garage profile, measurements and layout grid, declutter tracker, zone plan, floor chooser, door safety checks, budget worksheet and order of work.
| Type | Strengths | Best for |
|---|---|---|
| Fixed wall bench | Very sturdy, uses wall space, easy to build | Dedicated workshop walls |
| Freestanding bench | Access from all sides, can be very heavy | Woodworking and assembly |
| Mobile bench on casters | Rolls where needed, stores out of the way | Shared garages and small spaces |
| Fold-down wall bench | Takes almost no space when folded | Narrow garages with parked cars |
| Cabinet-base bench | Storage built in, finished look | Organized garages with cabinet systems |
Many garages combine types. For example, a long fixed bench on the back wall may handle heavy work, while a small mobile cart serves as an outfeed table or a second surface.
Choosing the right height
Above all, height affects comfort more than any other dimension. For instance, a bench that is too low makes you stoop, and one that is too high tires your shoulders. There is no universal number, because people and tasks differ.
As a result, a common starting point is a height near your wrist or knuckles with your arms relaxed at your sides. From there, adjust for your work. For instance, planing and heavy assembly often feel better on a slightly lower bench, where you can push down with body weight. In contrast, detailed tasks, such as electronics or carving, feel better higher up, closer to your eyes. If several people use the bench, aim for a middle ground, or add a raised platform or riser for fine work.
Therefore, test the height before building. Stack sheets of plywood on sawhorses or use an adjustable table, work at it for an hour, then decide.
Depth and length
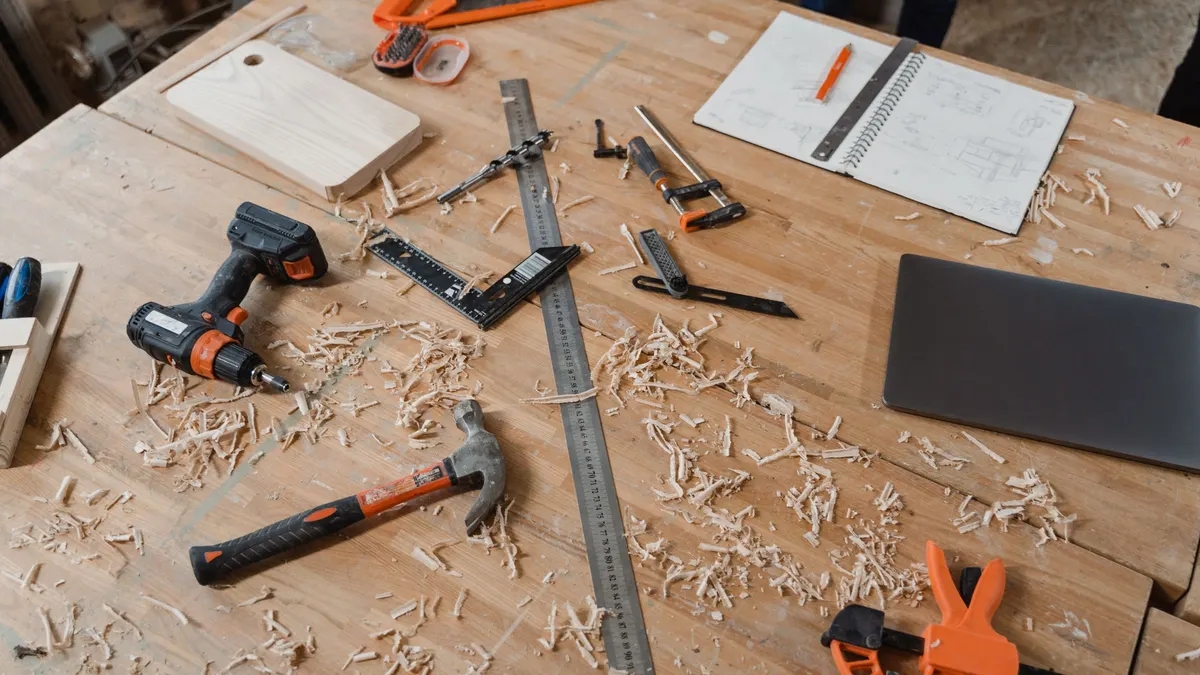
Next, depth decides how far you must reach. A bench that is too deep collects clutter at the back, and you will rarely use that space. On the other hand, a very shallow bench limits the size of projects. Choose a depth that holds your typical work while letting you reach the back edge comfortably.
Length, meanwhile, is about workflow. A longer bench lets you leave one project out while starting another, and it gives room for a vise at one end and a small tool station at the other. In a garage that also holds cars, check that the bench leaves enough room to open car doors and walk past. Our Garage Parking Fit Checker shows how much space your vehicles leave.
Workbench top materials
Because the top takes the abuse, choose it for the work you do. For example, thick plywood and MDF are affordable and flat, and they are easy to replace when worn. Many builders laminate two layers for stiffness and add a thin hardboard surface that can be swapped out after years of glue and paint.
On the other hand, hardwood and butcher block tops are heavy, durable and well suited to woodworking. They resist dents and can be flattened if they wear. However, they cost more and need an occasional finish. Steel tops, however, suit mechanical work, since oil and solvents wipe off easily and hot parts will not scorch them. Finally, laminate tops are smooth and easy to clean, which suits hobby and electronics work.
Frames and stability
Of course, a bench must not wobble, rack or slide. Heavy frames of solid lumber, with diagonal bracing or a lower shelf, resist racking well. Steel frames offer similar stiffness in a slimmer profile.
Weight also helps. A lower shelf loaded with heavy items adds mass and stability. In addition, a fixed bench screwed to wall studs will not move at all. For mobile benches, choose locking casters rated for the load, and lock them before working.
Vises and clamping
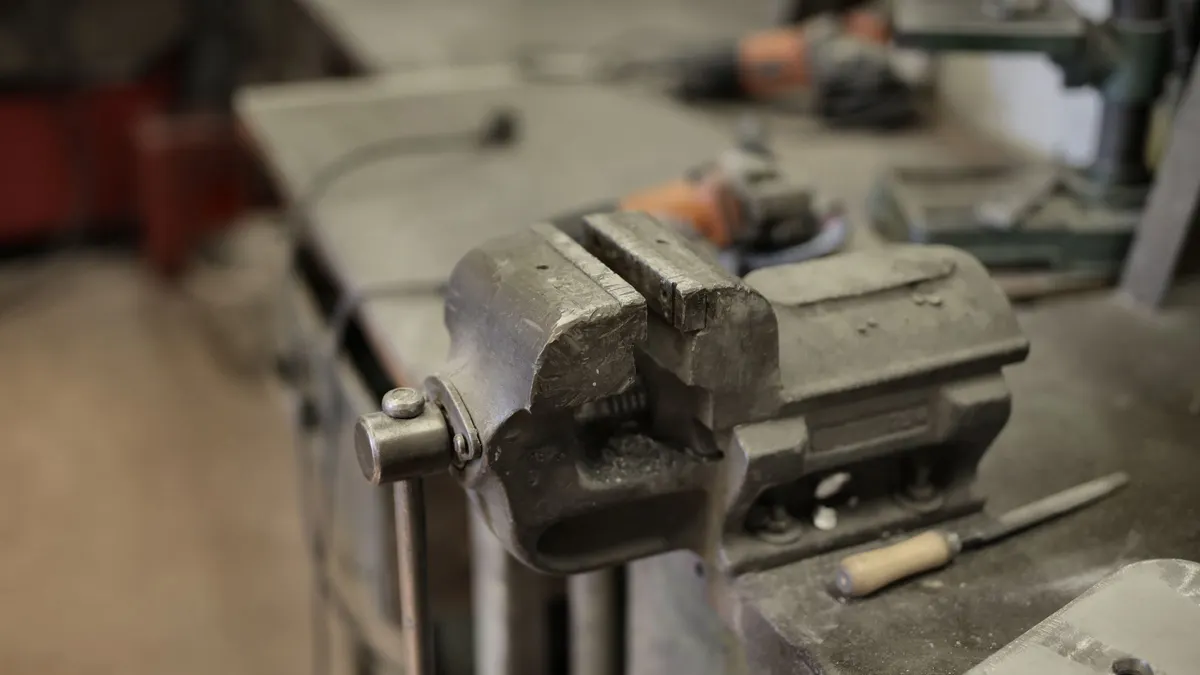
In short, a vise turns a table into a true workbench. Machinist vises with steel jaws grip metal parts firmly and suit mechanical work. Woodworking vises, by contrast, have wide, flat jaws, often lined with wood, to hold boards without marring them. Mount the vise at a corner or end of the bench, where long pieces can hang past the edge.
Clamping options matter too, of course. An overhanging top edge lets you clamp work to the bench. Dog holes and holdfasts add more flexibility for woodworkers. Keep a few quick clamps on a rack nearby, so you never need to hunt for one mid-task.
Power at the bench
Today, most projects involve power tools, battery chargers, task lights or soldering irons. A bench without nearby outlets quickly ends up tangled in extension cords. Plan outlets above or along the bench, ideally on a dedicated circuit if you run high-draw tools.
HomeGuide notes that some electricians charge $100 to $300 or more per opening for wiring or rewiring, and each outlet, switch and fixture counts as one opening. If you are wiring a larger workshop, it puts the average cost to wire a garage at $1,200 to $5,200. Have a licensed electrician add circuits, especially in garages where outlets may need ground-fault protection.
Lighting the work surface
Similarly, good light reduces mistakes and eye strain. Overhead garage lights often leave the bench in shadow, especially if wall cabinets sit above it. Add task lighting directly over the work surface, such as an LED fixture or strip mounted under shelves.
ENERGY STAR notes that LED lighting products produce light up to 90% more efficiently than incandescent bulbs. LEDs also run cool, which matters in a small work area. The Garage Lighting Calculator estimates how much light a bench area needs, and our garage lighting guide explains color and placement.
Storage around the bench
Ideally, tools you use often belong within arm’s reach. Pegboard, slatwall or a French cleat wall above the bench keeps hand tools visible and organized. Drawers under the bench hold fasteners, small parts and tools that collect dust. A shelf below holds heavier items and adds stability.
Also group tools by task, and keep the bench top clear between projects. A clear top is the most useful storage of all. Our garage wall storage guide compares pegboard, slatwall and track systems for the wall behind a bench.
Placing the bench in the garage
Ideally, put the bench where you have light, power and space to work around it. A back wall away from parked cars is common, since it avoids bumpers and opening doors. Near a window, natural light helps, although direct sun can glare off the work.
Leave space in front of the bench to stand, move and carry long boards. If you use stationary tools, such as a table saw or miter saw, place the bench so it can double as an outfeed or support table. Finally, keep the bench away from the water heater, furnace and anything else that needs clearance.
Safety at the workbench
Naturally, workbenches see sharp tools, power tools, dust and noise. OSHA’s woodworking eTool notes that improperly or inadequately guarded woodworking machines can lead to injuries including laceration, amputation, severed fingers and blindness. Keep guards in place on any machine near the bench, and secure work in a vise or clamps rather than holding it by hand.
Noise, however, is easy to overlook. OSHA notes that noise levels are measured in decibels and that exposure over 85 decibels can damage your hearing. If you need to raise your voice to speak to someone 3 feet away, noise levels might be over 85 decibels. Wear hearing protection when running loud tools. In addition, OSHA notes that wood dust and finishing chemicals are health hazards that may cause skin and respiratory diseases, so collect dust at the source and ventilate when finishing.
Choosing a workbench for garage spaces you share
Many garages hold cars, bikes and storage as well as a workshop. In that case, a workbench for garage spaces you share needs to fit around everything else. A fold-down bench mounted to the wall gives you a work surface only when you need it, and it folds flat so a car can park close by. Similarly, a mobile bench on locking casters can roll out to the middle of the garage for big projects, then tuck against the wall afterward.
Shared garages also need tidy habits. Clear the bench at the end of each session, unplug and store power tools and keep sharp blades out of reach of children. In addition, mark the bench zone on the floor so family members know to keep bikes and boxes out of it. With a little planning, a workbench for garage use can coexist with daily parking and storage.
Build or buy a garage workbench
For many people, building a workbench is a classic first workshop project. It lets you choose the exact height, length and depth, and lumber or plywood often costs less than a comparable store-bought bench. It is also a chance to practice cutting, drilling and assembly before bigger projects.
Buying, on the other hand, saves time and can give you features that are harder to build, such as steel drawers, integrated power strips or a matching cabinet system. Many owners start with a simple built bench, then add a store-bought cabinet bench later. Either way, focus on stiffness, a durable top and the right height.
Garage workbench checklist
- List the tasks you will do at the bench.
- Choose fixed, freestanding, mobile, fold-down or cabinet style.
- Test and set a comfortable height.
- Pick a top material suited to your work.
- Add a vise and clamping options.
- Plan outlets and task lighting with an electrician.
- Store everyday tools within arm’s reach.
- Use hearing protection and control dust.
Where to compare workbenches and accessories
When you know the size and style you need, compare current garage workbenches, bench vises and LED task lights. Check load ratings, dimensions and mounting details on each listing. For more workshop guides, visit the Workshop and Tools hub.
Frequently asked questions about garage workbenches
How tall should a garage workbench be?
There is no single right height. Many people set a general bench near the height of their wrist or knuckles with arms relaxed, lower for heavy assembly and planing, and higher for detailed work. Test a height with a temporary surface before building.
What is the best top for a workbench?
It depends on the work. Thick plywood or MDF tops are affordable and easy to replace. Hardwood or butcher block tops are durable and good for woodworking. Steel tops suit mechanical work with oils and heavy parts. Many owners add a replaceable hardboard layer on top.
Should I build or buy a garage workbench?
Building lets you size the bench exactly and costs less in materials, especially for long benches. Buying saves time and can give you steel construction or drawers. Many people start with a simple built bench and upgrade later.
How deep should a workbench be?
Deep enough to hold your work and tools, but shallow enough to reach the back comfortably. Very deep benches collect clutter at the back. Wall-mounted pegboard or shelves above the bench keep tools in reach without adding depth.
Do I need extra outlets at my workbench?
Usually. Power tools, chargers and lights all need outlets near the bench. HomeGuide notes some electricians charge $100 to $300 or more per opening for wiring, and each outlet counts as one opening. A licensed electrician should add circuits.
Sources and how we researched this guide
This guide is research-based. We did not build or test benches for this article; we compared common designs and used OSHA’s woodworking and noise guidance, ENERGY STAR’s LED lighting guidance and HomeGuide’s garage wiring cost data. Follow tool makers’ instructions and have an electrician add circuits. Found something out of date? Tell us and we will check it against the source.
- OSHA eTool: Woodworking
- OSHA: Occupational noise exposure
- ENERGY STAR: Learn about LED lighting
- HomeGuide: Cost to run electricity to a garage or shop
Keep planning
- Shop Vac Guide: Sizes, Filters, Wet Pickup and Dust Control
- Rolling Tool Box: Chests, Carts and How to Choose One
- Garage Workshop Ideas: Layouts, Power, Light and Safety
- Garage Lighting: How Much Light, Which LEDs and Where
Go deeper: Workshop hub · Garage Lighting Calculator · Air Compressor CFM Calculator

Written by Jeremy Jarvis
Jeremy Jarvis is the founder and editor of Garage Playbook, where he builds research-based guides and free planning tools for garage doors, floors, storage, heating and cooling, and workshops. He sets the site's editorial standards, checks every guide against official sources such as federal safety standards, EPA and OSHA guidance and manufacturer documentation, and is responsible for corrections. Jeremy also founded Eco Nomad Travel, Mind Clarity Hub, SilkHarborTravel, WanderOza Travel, Freedom Road Living and PowerProof Home, and he is the author of books on clarity, focus and practical AI, including The Power of Clarity and Digital Clarity.