
How to Epoxy a Garage Floor: Step-by-Step DIY Kit Guide
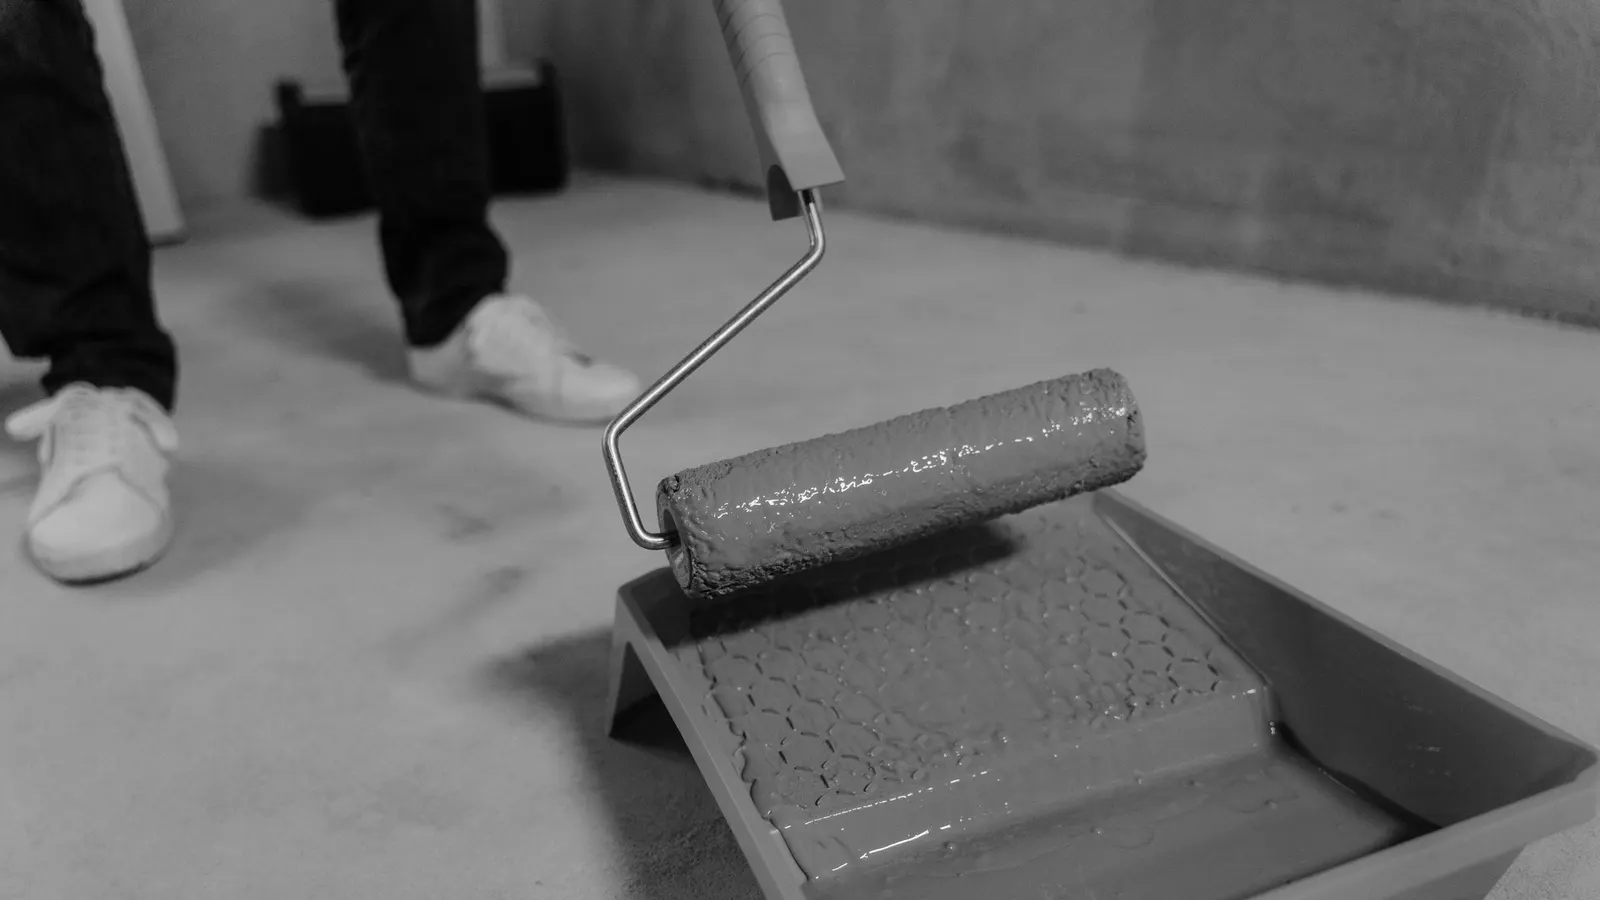
A garage floor epoxy kit lets you coat your own floor for a fraction of a professional installation. The results can look excellent, but only if you follow the steps carefully. Most failures, from peeling to bubbles, come from rushing the prep or skipping the moisture test, not from the epoxy itself.
Last reviewed and updated: October 2, 2026. Written by Jeremy Jarvis.
Key takeaways
- Most garage floor epoxy kit failures trace back to moisture or poor prep, not the product.
- Test the slab for moisture first; ASTM D4263 uses a taped plastic sheet to indicate capillary moisture.
- Grinding gives the strongest bond; etching is easier but does not remove sealers or old coatings.
- Work in the kit’s temperature range, ventilate well and respect the full cure time before parking.
This guide walks through how to epoxy garage floor concrete with a kit, from testing and cleaning to rolling, flakes and cure time. It also flags the mistakes that cause peeling. Before you buy, run your floor size through the free Epoxy Floor Coverage Calculator to check how much product you need.
Is a DIY garage floor epoxy kit right for you?
DIY works best on a floor that is sound, fairly dry and free of old coatings. If your slab passes a moisture test and has only small cracks, a garage floor epoxy kit is a realistic weekend project. HomeGuide notes that water-based epoxy is relatively easy to work with.
However, some floors are better left to professionals. Wide or shifting cracks, a slab that fails a moisture test, and floors with old paint or sealer all call for heavy grinding and specialist primers. Similarly, HomeGuide says solid epoxy should be handled by professionals to avoid costly mistakes. If your floor fits that description, compare quotes in our epoxy garage floor cost guide before deciding.
Choosing a garage floor epoxy kit
Kits differ in chemistry, thickness and what is included. Many entry-level kits use water-based epoxy, which is forgiving and lower in odor but builds a thinner film. Higher-solids kits build a thicker, tougher layer but set faster and leave less room for error.

Free download: The Garage Makeover Planner
Our 12-page printable planner: garage profile, measurements and layout grid, declutter tracker, zone plan, floor chooser, door safety checks, budget worksheet and order of work.
Next, check what is in the box. Some kits include an etching solution, decorative flakes and a clear top coat, while others include only the colored epoxy. Also check the coverage rate printed on the label, since it tells you how many kits your floor needs. Our epoxy garage floor guide compares water-based, solvent and solid epoxy in more detail.
Tools and supplies you will need
Gather everything before you open a single can, because mixed epoxy will not wait for a trip to the store. A typical project needs:
- The epoxy kit or kits, plus flakes and a top coat if wanted.
- Concrete grinder with a diamond cup wheel, or etching supplies.
- Shop vacuum with a fine filter, a stiff broom and a degreaser.
- Crack and pit filler rated for use under epoxy.
- Drill with a mixing paddle and clean buckets.
- Rollers with lint-free covers, an extension pole and a brush for edges.
- Spiked shoes for walking on wet epoxy, painter’s tape and plastic sheeting.
- Respirator, chemical-resistant gloves and eye protection.
Read the safety data sheet for each product. It tells you which respirator cartridge and gloves to use.
Plan the timing and weather
Temperature and humidity affect how epoxy flows and cures. Every kit lists a working range for the air and the concrete. If the slab is too cold, the epoxy may not cure properly. Conversely, if it is too hot, the working time shrinks and the coating can set before you finish rolling.
Plan for several days. Prep usually takes a full day, coating takes another, and the floor then needs time before foot traffic and longer before cars. Therefore, check the forecast and choose a stretch of mild, dry weather. Avoid days when rain or dew could bring moisture in under the door.
Step 1: Test the slab for moisture
Moisture is the biggest threat to any coating. ASTM F1869 states that all concrete subfloors emit some amount of moisture in vapor form and that all floor coverings are susceptible to failure from excessive moisture vapor emissions.
The simplest check is the plastic sheet method in ASTM D4263, which is used to indicate the presence of capillary moisture in concrete. Tape a square of clear plastic tightly to the floor in a few places, then check it after the period the standard describes. Condensation under the plastic or darkened concrete means moisture is coming up through the slab. For a measured result, ASTM F1869 uses anhydrous calcium chloride to find the moisture vapor emission rate.
If the test fails, stop. Coating a damp slab invites peeling. Instead, look into moisture-tolerant primers or alternatives such as interlocking tiles.
Step 2: Empty and clean the garage
Remove everything from the floor, including shelving that sits on the slab if you want to coat beneath it. Then sweep thoroughly and scrape off any dried paint, glue or debris. Cover the lower walls, doors and anything you cannot move with plastic sheeting and tape.
Next, mask the bottom of the garage door and the door into the house. Epoxy drips are almost impossible to remove once cured, so taking time here saves frustration later.
Step 3: Remove oil and grease
Epoxy will not bond to oil. Scrub every stain with a concrete degreaser and a stiff brush, then rinse and let the floor dry. Old, deep stains may need several rounds. A good test is to sprinkle a few drops of water on the cleaned area: if the water beads up, oil or sealer is still present.
Also check for clear sealers. Many garage floors were sealed when they were poured. Sealers block epoxy from soaking in, so they must be ground off. Water beading on clean concrete is a common sign of one.
Step 4: Grind or etch the concrete
The concrete needs a rough profile, a bit like medium sandpaper, for the epoxy to grip. Diamond grinding is the most reliable method. It removes sealers, weak surface concrete and old coatings, and it leaves an even profile. Most rental stores carry grinders with dust shrouds that connect to a vacuum.
| Prep method | Best for | Limits |
|---|---|---|
| Diamond grinding | Most floors, including sealed or previously coated slabs | Needs a rented grinder and dust extraction |
| Acid etching | Bare, clean, unsealed concrete | Does not remove sealers or coatings; floor must dry fully after rinsing |
| Professional shot blasting | Large or heavily contaminated floors | Specialist equipment; usually a contractor job |
Acid etching is the alternative that many kits include. It is easier and cheaper, but it only works on bare, clean concrete with no sealer. It also involves rinsing large amounts of water across the floor, which then must dry completely. When in doubt, grind.
Step 5: Repair cracks and pits
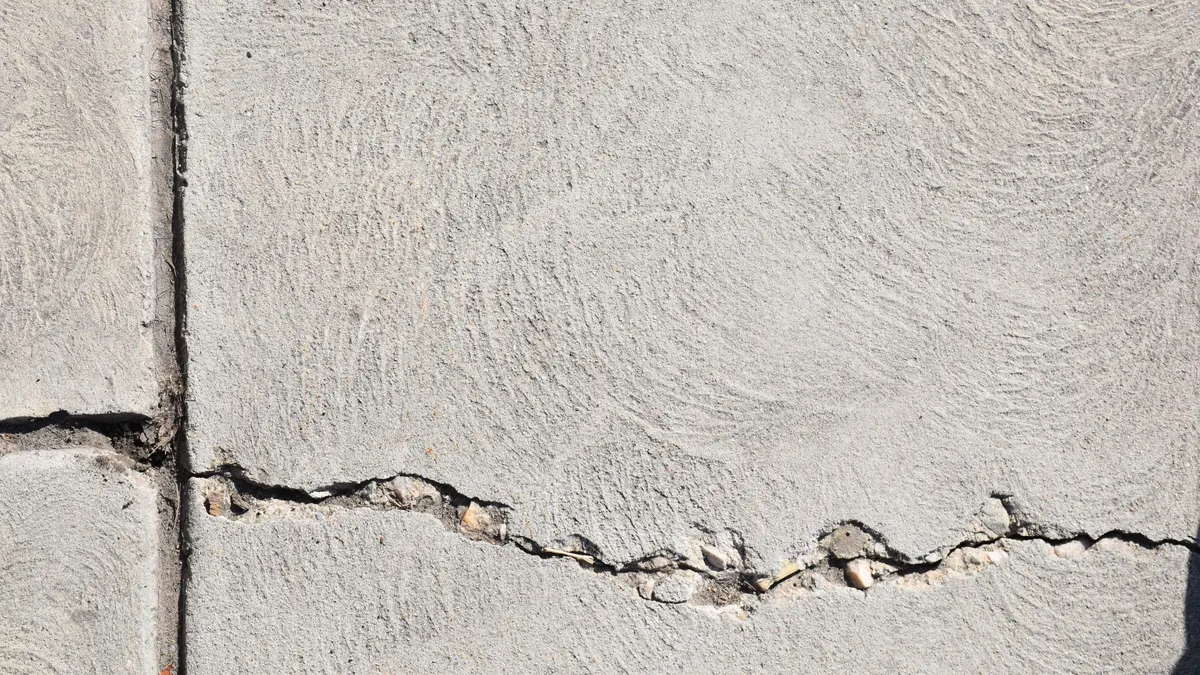
Fill cracks, chips and pits after grinding so the filler bonds to fresh concrete. HomeGuide says hairline cracks under ⅛ inch wide are cosmetic issues typically fixed by filling with polymer-modified cement grout, silicone caulk or epoxy sealant. Use a filler rated to go under epoxy, then grind or scrape it flush once it hardens.
Wider cracks are a different matter. HomeGuide notes that structural cracks wider than ⅛ inch require more extensive repairs, often involving reinforcement. If you find those, or cracks with one side higher than the other, call a concrete contractor before coating.
Step 6: Vacuum and final clean
Dust is the enemy of a strong bond. Vacuum the entire floor slowly, including the edges and corners. Then go over it again. Some installers finish with a lightly damp microfiber mop and let the floor dry fully afterward.
Before mixing, wipe your hand across the floor. If it comes up dusty, vacuum again. In addition, close the garage door to keep blowing leaves and grit out while you work.
Step 7: Ventilate and protect yourself
Coatings release vapors as they go down and cure. EPA notes that paints, varnishes and wax all contain organic solvents, and it advises increasing ventilation when using products that emit volatile organic compounds. It also reports that during and for several hours after activities such as paint stripping, indoor levels may be 1,000 times background outdoor levels.
So set up airflow before you open the cans. Run fans that push air outdoors, keep the door into the house closed and keep children and pets away. Wear the respirator, gloves and eye protection listed on the safety data sheet. Our garage ventilation fan guide explains how to size an exhaust fan for projects like this.
Step 8: Mix the epoxy correctly
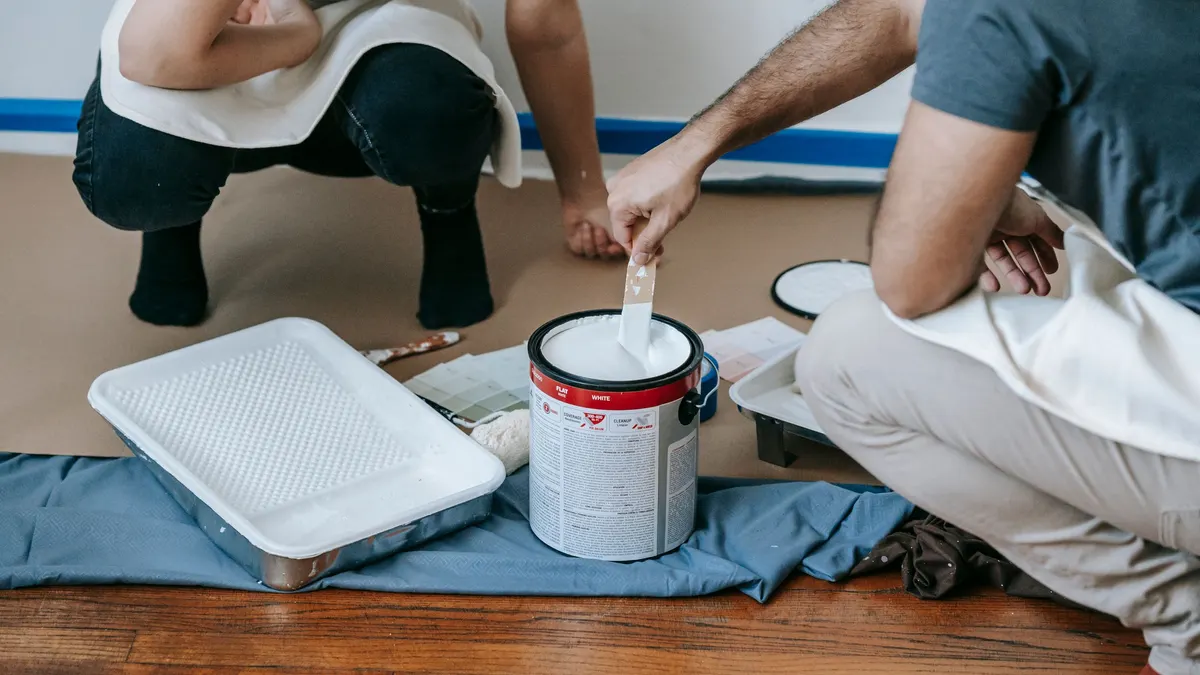
Epoxy is a chemical reaction, so the ratio and mixing time matter. Pour the two parts together exactly as the kit directs, then mix with a drill and paddle at low speed for the full time listed. Scrape the sides and bottom of the bucket so no unmixed resin remains.
Mix only as much as you can roll out within the pot life. Mixed epoxy heats up in the bucket and sets faster, so pour it onto the floor in a ribbon soon after mixing. That spreads the heat and buys you working time.
Step 9: Cut in the edges and roll the floor
Start at the back wall and work toward the door so you never trap yourself. First, brush a strip along the walls and around obstacles. Then pour a ribbon of epoxy and spread it with a squeegee or roller in sections of a size you can manage.
Roll in one direction, then cross-roll at a right angle to even the coat. Keep a wet edge by overlapping the previous section before it starts to set. Wear spiked shoes if you need to walk into the wet coating. Finally, look across the floor with a light low to the ground to spot thin or missed areas.
Step 10: Broadcast flakes, if using
Decorative flakes go into the base coat while it is still wet. Stand at the edge of each section and toss the flakes up and out so they fall evenly, rather than throwing them down in clumps. A light sprinkle gives a speckled look, while full coverage hides the base color completely.
Flakes also add grip and hide dust and small flaws. After the base coat cures, scrape or sweep off loose flakes before any top coat goes on.
Step 11: Apply a top coat
Many kits include a clear top coat that protects the color layer and the flakes. Follow the kit’s recoat window carefully. HomeGuide notes that water-based epoxy is ready for the second coat in 8 to 10 hours. If you miss the window, the base may need light sanding before the next coat will bond.
Add an anti-slip additive to the top coat if your kit offers one. A glossy floor can be slippery when wet, especially near the door where rain and snow come in.
Step 12: Let it cure fully
Curing takes patience. Most products allow light foot traffic after a day or so, but full hardness takes longer. HomeGuide’s coating data notes that epoxy takes up to 1 week to cure. Keep cars off the floor until the kit says it is safe, because hot tires can lift a soft coating.
Afterward, protect the floor with mats near the entry and under jack stands. Clean it with a soft mop and mild cleaner, and rinse off road salt in winter.
A typical project timeline
Knowing how to epoxy garage floor concrete is partly about planning the days. The exact timing depends on your kit and the weather, so treat this as an outline and follow the label.
| Stage | What happens |
|---|---|
| Before you buy | Moisture test, measure the floor, choose the kit |
| Prep day | Empty, clean, degrease, grind or etch, repair cracks, vacuum |
| Coating day | Mix, cut in, roll the base coat, broadcast flakes |
| Next day | Remove loose flakes, apply top coat within the recoat window |
| Cure period | Light foot traffic first, then vehicles only when the kit allows |
Build in a spare day for drying after etching or for unexpected repairs. Rushing a stage to keep to schedule is how most DIY floors go wrong.
Common mistakes to avoid
The most common mistake is skipping the moisture test and coating a damp slab. Another is etching over a sealed floor, where the epoxy has nothing to grip. Also, mixing too much at once leads to epoxy setting in the bucket or on the roller.
Applying in cold or very hot conditions causes poor cure or rushed rolling. Similarly, parking too soon can leave tire marks or lift the coating. Finally, many owners underestimate the time needed for prep. Plan for prep to take longer than coating, because it decides how long the floor lasts.
Where to compare kits and prep supplies
Once your floor passes the moisture test, compare current garage floor epoxy kits, crack fillers and concrete degreasers. Check each kit’s coverage, chemistry and included top coat. For more floor guides, visit the Garage Floors hub.
Frequently asked questions about applying a garage floor epoxy kit
How do you epoxy a garage floor?
Test the slab for moisture, empty and clean the garage, degrease stains, grind or etch the concrete, fill cracks, vacuum thoroughly, then mix and roll the epoxy in sections. Broadcast flakes if you want them, add a top coat if the kit includes one, and let it cure fully.
Do you have to grind concrete before applying a garage floor epoxy kit?
Grinding is the most reliable prep because it opens the pores and removes sealers, paint and weak surface concrete. Acid etching can work on bare, clean concrete, but it will not remove old coatings or sealers, which is a common cause of peeling.
How much does a DIY garage floor epoxy kit cost?
HomeGuide lists premade epoxy kits at $200 to $700 and raw DIY materials at $50 to $600, depending on the project size. Grinder rental, crack filler, degreaser and safety gear add to that total.
How long between coats of garage floor epoxy?
It depends on the product. HomeGuide notes that water-based epoxy is ready for the second coat in 8 to 10 hours. Always follow your kit’s recoat window, since waiting too long can require scuffing before the next coat.
What size cracks can I fix before epoxy?
HomeGuide says hairline cracks under 1/8 inch wide are cosmetic and are typically filled with polymer-modified cement grout, silicone caulk or epoxy sealant. Structural cracks wider than 1/8 inch need more extensive repair, often by a professional.
Sources and how we researched this guide
This guide is research-based. We did not coat a floor for this article; we used the ASTM D4263 and F1869 concrete moisture test methods, EPA guidance on volatile organic compounds and HomeGuide’s epoxy and garage floor repair data. Your kit’s instructions on mixing ratios, temperatures, coverage and cure times always take priority. Found something out of date? Tell us and we will check it against the source.
- ASTM D4263: Indicating moisture in concrete by the plastic sheet method
- ASTM F1869: Moisture vapor emission rate using anhydrous calcium chloride
- EPA: Volatile organic compounds’ impact on indoor air quality
- HomeGuide: Epoxy flooring cost
- HomeGuide: Garage floor repair cost
Keep planning
- Polyaspartic Floor Coating: Cost, Lifespan and vs Epoxy
- Garage Floor Tiles: Types, Costs and How to Install Them
- Garage Floor Paint: Types, Prep and When to Choose Coating
- Garage Floor Mats: Containment, Parking and Anti-Fatigue Mats
Go deeper: Garage Floors hub · Epoxy Floor Coverage Calculator · Garage Floor Tile Calculator

Written by Jeremy Jarvis
Jeremy Jarvis is the founder and editor of Garage Playbook, where he builds research-based guides and free planning tools for garage doors, floors, storage, heating and cooling, and workshops. He sets the site's editorial standards, checks every guide against official sources such as federal safety standards, EPA and OSHA guidance and manufacturer documentation, and is responsible for corrections. Jeremy also founded Eco Nomad Travel, Mind Clarity Hub, SilkHarborTravel, WanderOza Travel, Freedom Road Living and PowerProof Home, and he is the author of books on clarity, focus and practical AI, including The Power of Clarity and Digital Clarity.