
Garage Floor Tiles: Types, Costs and How to Install Them
Garage floor tiles are interlocking squares that snap together over your existing concrete. They cover cracks, stains and uneven color in a single weekend, with no grinding, mixing or curing time. For many garages, especially ones with problem slabs, they are the fastest way to a finished-looking floor.
Last reviewed and updated: October 2, 2026. Written by Jeremy Jarvis.
Key takeaways
- Garage floor tiles snap together over existing concrete, hiding cracks and stains without grinding or curing time.
- HomeGuide says DIY tiles cost about $800 to $2,900 for a 2-car garage, compared with $1,600 to $6,900 for a professional coating.
- Rigid polypropylene tiles suit most garages, flexible PVC tiles feel softer and quieter, and vented tiles help water drain.
- Plan the layout from the door, leave expansion gaps at the walls and finish exposed edges with ramps.
This guide explains the main types of garage floor tiles, how they compare with coatings on cost and performance, and how moisture affects them. It also walks through layout and installation. To count tiles, edges and boxes for your floor, use the free Garage Floor Tile Calculator.
What garage floor tiles are
Garage floor tiles are modular squares made from plastic or vinyl. Each tile has loops on two sides and pegs on the other two, so tiles lock together into a floating floor. Nothing is glued to the slab, which means the floor can be lifted, repaired or even moved to a new home.
Most tiles are made from rigid polypropylene or flexible PVC. Both carry vehicle loads, resist common garage chemicals and come in many colors. As a result, you can create borders, parking pads, checkerboards or a single solid color.
Why choose tiles over a coating
Tiles solve problems that coatings cannot. A coating shows every crack and stain beneath it, and it needs a dry, well-prepared slab to bond. By contrast, garage floor tiles float over the concrete. They hide cosmetic flaws and need only a clean, reasonably flat floor.

Free download: The Garage Makeover Planner
Our 12-page printable planner: garage profile, measurements and layout grid, declutter tracker, zone plan, floor chooser, door safety checks, budget worksheet and order of work.
Speed is another reason. There is no cure time, so you can park on tiles as soon as the last one clicks in. In addition, tiles suit renters and people who may move, because the floor can come with them. Finally, damaged tiles can be swapped individually, which is far easier than patching a coating.
Types of garage floor tiles
The material and design of a tile shape how it feels, sounds and handles water. These are the main options:
| Tile type | Feel and sound | Water handling | Best for |
|---|---|---|---|
| Rigid polypropylene, solid top | Hard, can click underfoot | Water sits on top | General parking and storage |
| Rigid polypropylene, vented | Hard, open grid | Water and debris drain through | Snowy or wet climates, car washing |
| Flexible PVC | Softer, quieter, more grip | Water sits on top | Workshops, gyms, standing work |
| Rubber or composite | Cushioned | Varies | Gym areas and anti-fatigue zones |
Rigid tiles are the most common and usually the least expensive per square foot. Flexible PVC tiles cost more but feel better underfoot and are quieter to walk on. Vented tiles are a smart choice where melting snow and rain are a regular problem.
Surface patterns and grip
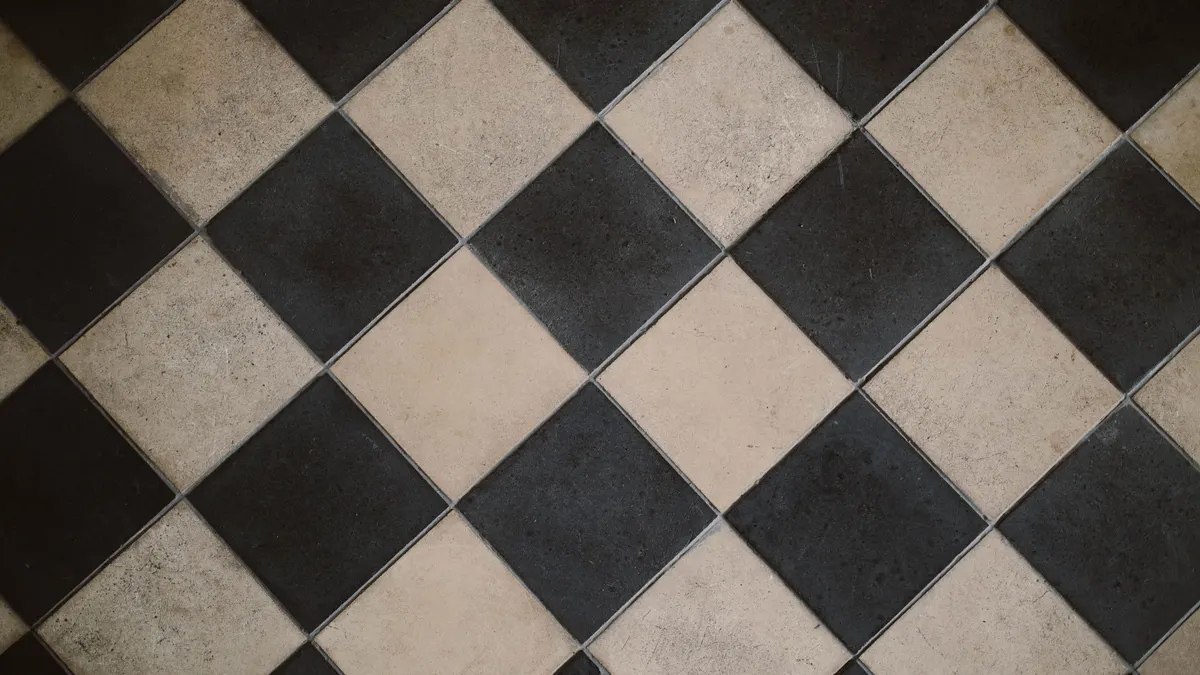
Garage floor tiles come in several surface textures. Coin tops have raised discs that add grip and hide scratches. Diamond plate patterns give an industrial look and good traction. Ribbed tiles channel water toward the door. Smooth tiles look sleek and are easiest to sweep, but they can be slippery when wet.
Choose the texture for how you use the space. For example, a workshop where you stand for hours benefits from a textured, flexible tile. A showroom-style garage may suit smooth tiles. Meanwhile, a garage that sees snow benefits from vented or ribbed patterns.
Garage floor tiles vs coatings on cost
HomeGuide offers a useful comparison. While the cost of concrete floor coating ranges from $1,600 to $6,900 for a 2-car garage, garage floor tiles cost about $800 to $2,900 for the same size floor when you install them yourself.
That gap narrows if you hire an installer for tiles, and it widens if your slab needs major repair before coating. HomeGuide puts concrete resurfacing at $3 to $7 per square foot for major damage, which tiles usually avoid. Therefore, tiles are often the cheaper choice for damaged slabs, while coatings can compete on sound ones.
Long-term costs differ too. Tiles can be replaced one at a time, while worn coatings may need a full recoat. On the other hand, coatings are easier to clean, which some owners value more than repair flexibility. Our epoxy garage floor guide covers the coating side in detail.
Moisture, drainage and mold
Moisture is the main thing to plan for with garage floor tiles. ASTM F1869 notes that all concrete subfloors emit some amount of moisture in vapor form. Under a solid tile, that vapor can condense and stay trapped. Water from cars and snow can also seep through the seams and sit beneath the floor.
Trapped moisture can lead to odors and mold. EPA explains that the key to mold control is moisture control, and that mold will not grow if moisture is not present. It suggests keeping indoor humidity below 60 percent, ideally between 30 and 50 percent.
Several steps help. First, choose vented tiles if water regularly reaches the floor. Second, make sure the slab slopes toward the door or a drain. Third, lift a few tiles once or twice a year to check underneath, especially near the door. If the garage stays damp, our garage dehumidifier guide explains how to size one.
Measuring and planning your layout
Good planning makes the install smoother and the floor look better. Start by measuring the garage’s length and width, plus any alcoves or steps. Multiply length by width to get the area, then add a few percent for cuts and waste.
Next, decide on the design. A single color is simplest. Alternatively, a contrasting border or parking pad outlines can look sharp and help with parking. Sketch the design on graph paper, with each square representing a tile, so you can count each color.
The Garage Floor Tile Calculator counts tiles, edge pieces and boxes from your floor size, tile size and exposed edge length. It is especially helpful when you are mixing colors.
How to install interlocking garage floor tiles
Installing interlocking garage floor tiles is a straightforward DIY job. You need a broom, a rubber mallet, a tape measure, a chalk line, a straightedge and a jigsaw or sharp utility knife.
- Empty the garage, sweep thoroughly and clean any oil so tiles do not slide on it.
- Let the tiles sit in the garage for a day so they adjust to its temperature.
- Snap a straight chalk line parallel to the garage door as your starting row.
- Lay the first row along the line, with the loops facing the direction you will work.
- Connect tiles by placing loops over pegs and tapping them down with a rubber mallet.
- Work row by row toward the back wall, staggering your progress for straight seams.
- Measure and cut tiles to fit along the walls, leaving the maker’s expansion gap.
- Add edge ramps and corner pieces along the door and any exposed sides.
Many installers start at the door because that edge is the most visible. Full tiles there look best, while cut tiles end up hidden under shelving at the back.

Edges, ramps and expansion gaps
Plastic tiles expand and contract with temperature. That is why makers specify a gap at the walls, often hidden under baseboards or shelving. Without it, tiles can buckle on a hot day. Follow the gap size in the instructions for your brand.
Exposed edges need ramps. A ramp at the garage door lets tires roll on smoothly and stops the tile edge from catching. Ramps also help at steps into the house and around drains. Meanwhile, use the maker’s matching edge pieces rather than leaving loops exposed, since loose loops can be a trip hazard.
Living with a tiled garage floor
Cleaning is simple but a little different from a coating. Sweep or use a leaf blower to clear debris, then mop as needed. Vented tiles let small debris fall through, so lift and clean beneath them occasionally.
For heavy point loads, such as jack stands and motorcycle kickstands, use a plywood pad or a kickstand plate. In addition, place drip trays under vehicles that leak fluids, since oil can seep through seams. Finally, keep a few spare tiles in each color, so a damaged tile can be swapped in minutes.
Drawbacks to consider
Tiles are not perfect. Rigid tiles can feel and sound hollow underfoot, and they may shift slightly under sharp turns with locked wheels. Seams can collect fine dust. Some tiles soften under very hot tires or under sustained heavy loads.
Rolling carts and creepers also move less smoothly on textured tiles than on a coated floor. If you plan heavy mechanical work, consider a smooth tile or a coated area for the workspace. Similarly, if you want a fully seamless, hospital-clean look, a coating may suit you better.
Tiles, mats or a mixed approach
You do not have to tile the whole floor. Some owners tile only the parking bays and leave the workbench area as bare or coated concrete. Others use tiles in a gym corner and roll-out mats under each car. Mixing approaches can control cost while putting each material where it works best.
Roll-out mats cost less and suit renters who want only a parking area covered. They also contain melting snow better than tiles. Our garage floor mats guide compares containment mats, parking mats and anti-fatigue mats in detail.
Choosing colors and designs
Color is where garage floor tiles get fun, but practical choices pay off. Mid-gray and graphite tiles hide dust, tire marks and minor scuffs well. Very dark tiles look dramatic but show salt and dust quickly, while white and bright colors show everything. Many owners therefore use a practical main color with a contrasting accent.
Borders, walkways and parking outlines can be useful as well as decorative. For example, a contrasting stripe where the front tires should stop works like a parking guide. Similarly, a different color around the workbench marks the workspace. Before ordering, lay out the design on graph paper and count each color, since running short of one color later can mean a mismatched batch.
Garage floor tiles checklist
- Check the slab for moisture and drainage toward the door.
- Choose rigid, flexible or vented tiles for your use and climate.
- Pick a surface texture for grip and cleaning.
- Measure the floor and add a margin for cuts.
- Sketch your layout and count each color.
- Start at the door with a straight chalk line.
- Leave expansion gaps and add edge ramps.
- Keep spare tiles for repairs.
Where to compare garage floor tiles
Once your layout is planned, compare current interlocking garage floor tiles, vented tiles and edge ramps. Check tile size, thickness and load ratings on each listing. For more floor options, visit the Garage Floors hub.
Frequently asked questions about garage floor tiles
Are garage floor tiles better than epoxy?
Garage floor tiles are better for cracked, stained or damp slabs and for renters, because they need no grinding or curing and can be removed. Epoxy gives a seamless surface that is easier to sweep. HomeGuide notes tiles cost less for a typical 2-car garage when you install them yourself.
How much do garage floor tiles cost?
HomeGuide says garage floor tiles cost about $800 to $2,900 for a 2-car garage when you install them yourself. By comparison, it puts professional concrete floor coatings at $1,600 to $6,900 for the same size floor.
Do garage floor tiles trap moisture?
They can. ASTM F1869 notes that all concrete subfloors emit some moisture vapor, and solid tiles can hold it against the slab. Vented or perforated tiles let air move and water drain, which helps, and EPA advises controlling moisture to prevent mold.
Can you drive on interlocking garage floor tiles?
Yes, tiles made for garages are designed to carry vehicles. Rigid polypropylene and heavy flexible PVC tiles both handle cars. Use the maker’s edge ramps at the door and avoid sharp turns on the tiles with the wheels locked.
How do you install interlocking garage floor tiles?
Clean the floor, find your starting line at the door, then snap tiles together row by row with a rubber mallet. Cut tiles to fit the walls with a jigsaw or utility knife, leave the expansion gap the maker specifies, and add edge ramps where the floor is exposed.
Sources and how we researched this guide
This guide is research-based. We did not install tiles for this article; we compared common tile types and used HomeGuide’s garage floor coating and tile cost data, the ASTM F1869 concrete moisture method and EPA’s moisture and mold guidance. Follow the tile maker’s instructions for expansion gaps and installation. Found something out of date? Tell us and we will check it against the source.
- HomeGuide: Garage floor coating cost (coatings vs tiles)
- ASTM F1869: Moisture vapor emission rate using anhydrous calcium chloride
- EPA: A brief guide to mold, moisture and your home
Keep planning
- Polyaspartic Floor Coating: Cost, Lifespan and vs Epoxy
- How to Epoxy a Garage Floor: Step-by-Step DIY Kit Guide
- Garage Floor Paint: Types, Prep and When to Choose Coating
- Garage Floor Mats: Containment, Parking and Anti-Fatigue Mats
Go deeper: Garage Floors hub · Epoxy Floor Coverage Calculator · Garage Floor Tile Calculator

Written by Jeremy Jarvis
Jeremy Jarvis is the founder and editor of Garage Playbook, where he builds research-based guides and free planning tools for garage doors, floors, storage, heating and cooling, and workshops. He sets the site's editorial standards, checks every guide against official sources such as federal safety standards, EPA and OSHA guidance and manufacturer documentation, and is responsible for corrections. Jeremy also founded Eco Nomad Travel, Mind Clarity Hub, SilkHarborTravel, WanderOza Travel, Freedom Road Living and PowerProof Home, and he is the author of books on clarity, focus and practical AI, including The Power of Clarity and Digital Clarity.